Quick Start Guide
Get your first catalog ad live in under 15 minutes. This guide walks you through creating a data feed, configuring your schedule, and generating your first catalog with a public magic link ready to paste into any ad platform.
Before You Begin
Before starting, make sure you have the following ready:
- A PBLISH account (sign up at app.pblish.net)
- Your product data in a Google Sheet (recommended) or as a CSV/Excel file
- Product images accessible via public HTTPS URLs (not local files)
- The social platform(s) where you intend to run your catalog ads
Step 1: Create Your Feed
A Feed is the data source that powers your catalogs. It connects PBLISH to your product data and defines how often that data is refreshed. Navigate to Feeds in the left sidebar and click + Add Feed.
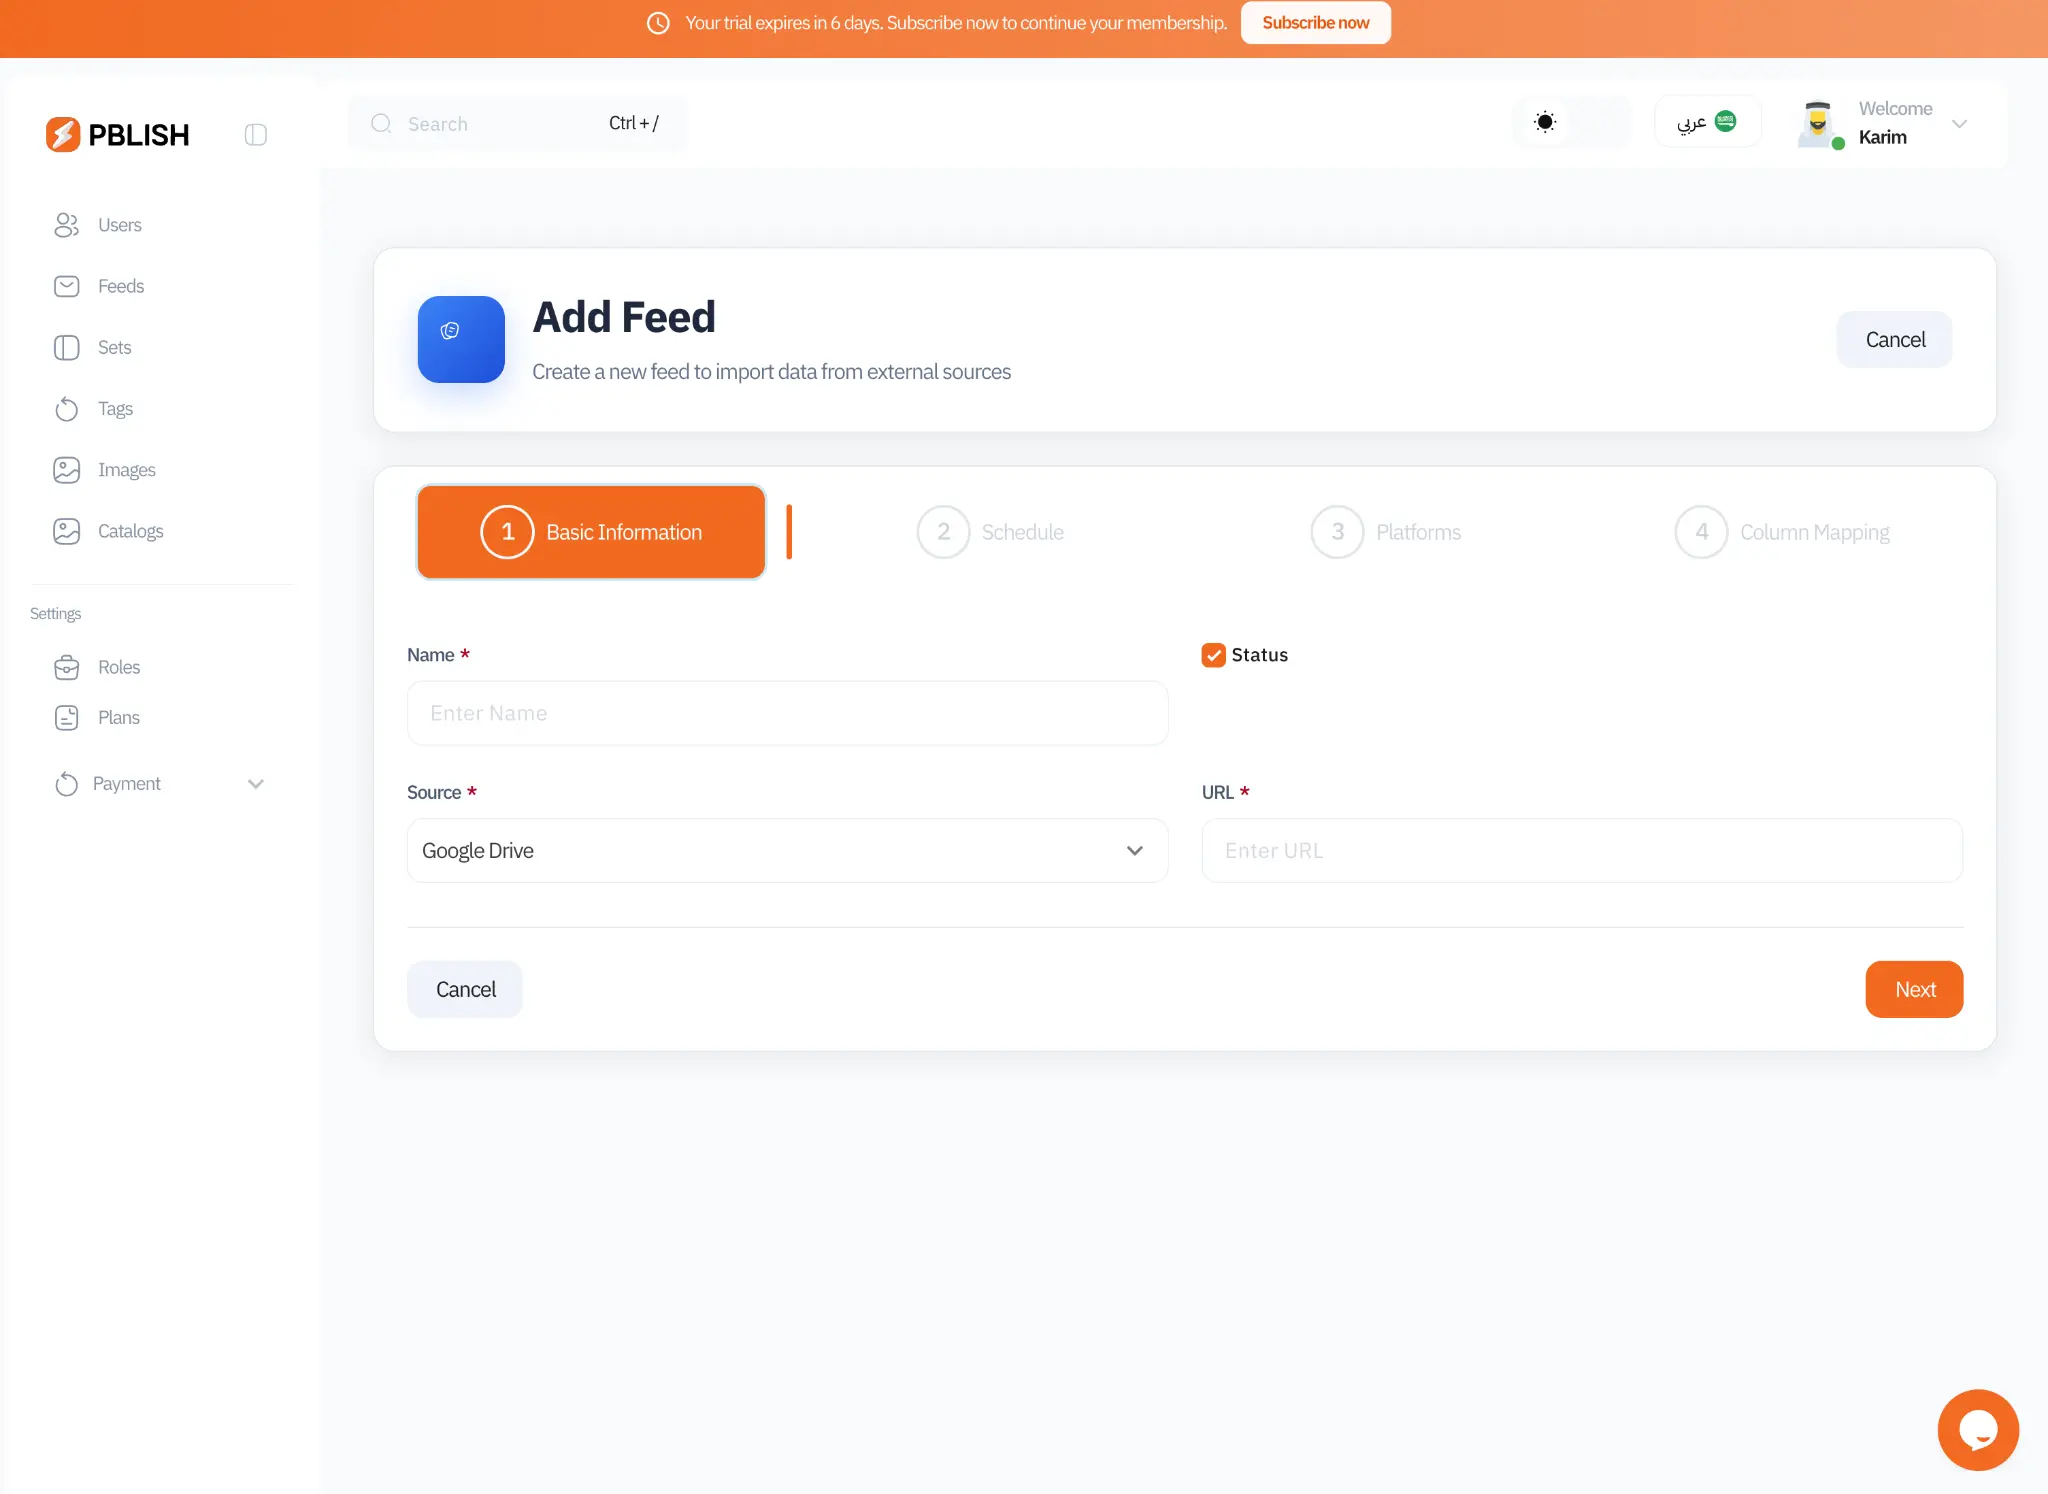
The feed creation wizard has four steps: Basic Information, Schedule, Platforms, and Column Mapping. In the first step:
- Name: Give your feed a descriptive name (e.g., "Summer Collection 2025" or "Electronics Catalog")
- Source: Choose between Google Drive (Google Sheets) or Upload File (CSV/Excel)
- Status: Keep this checked to activate the feed immediately
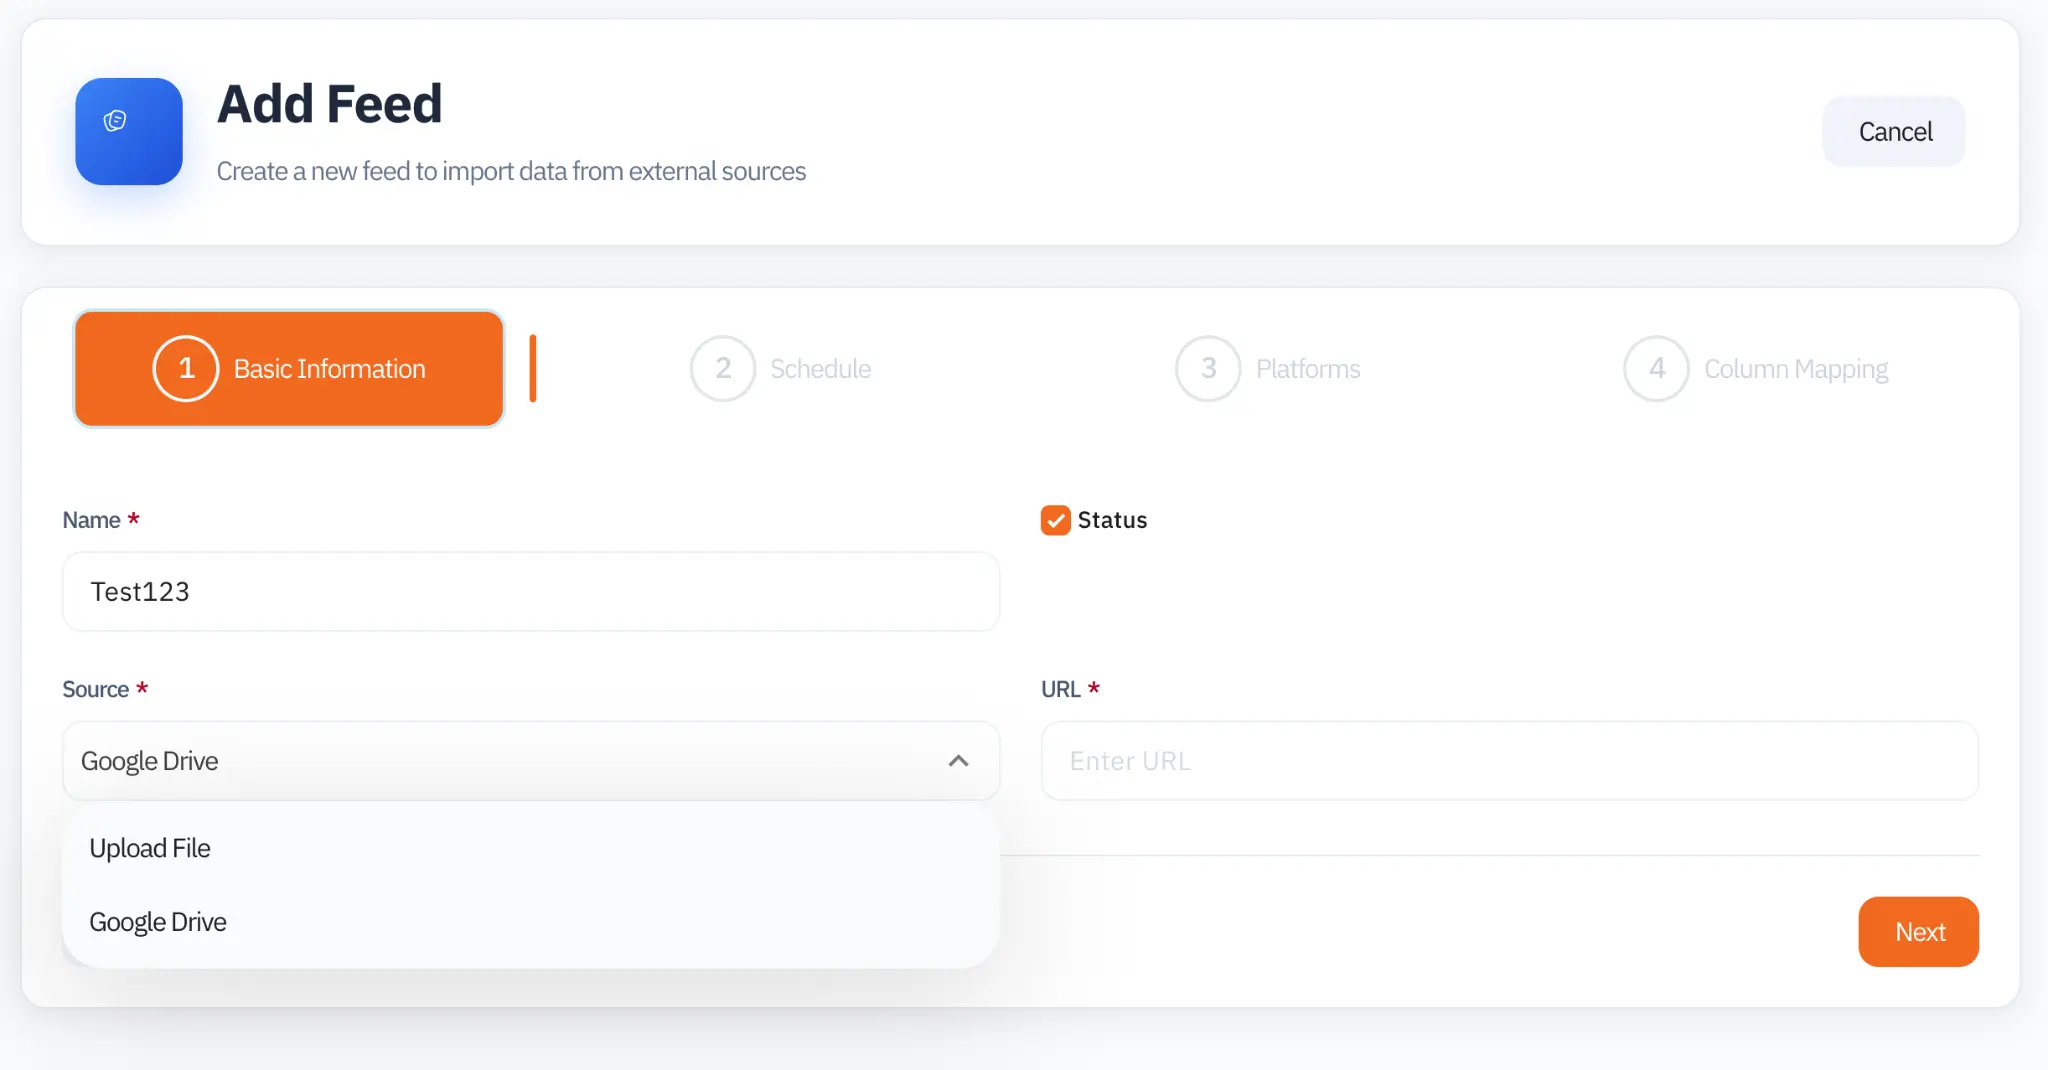
Step 2: Configure Your Schedule
The schedule determines how often PBLISH checks your data source for changes and triggers a new catalog generation cycle. Choose the interval that matches your business's update frequency.
| Interval | Best For | Example Use Case |
|---|---|---|
| Hourly (every 1-24h) | E-commerce, flash sales | Stock levels, live pricing, limited-time offers |
| Daily | Most businesses | Regular price updates, new arrivals, seasonal items |
| Weekly | Stable catalogs | Furniture, real estate, slow-moving inventory |
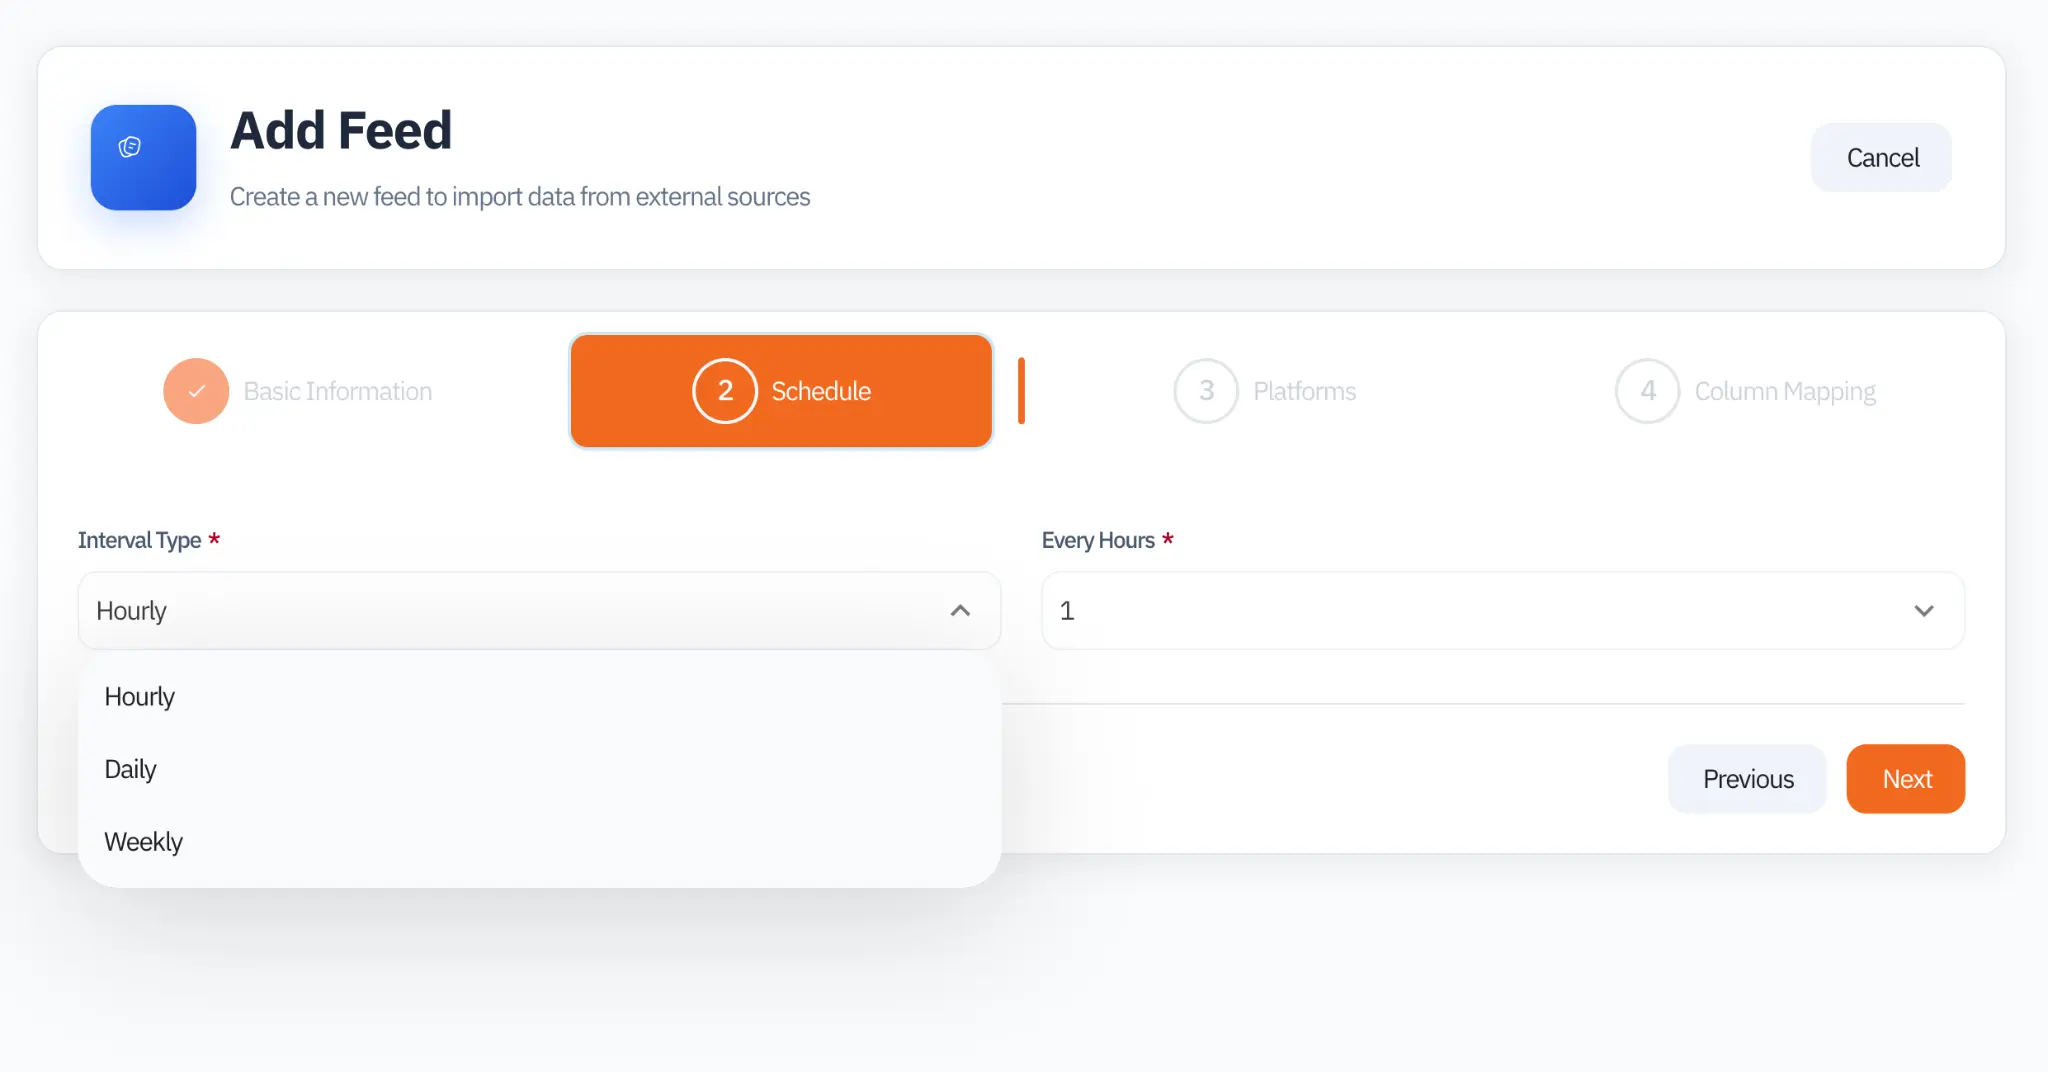
Step 3: Select Target Platforms
Select the social platforms where you plan to run your catalog ads. This selection is important because PBLISH uses it to determine the required and optional columns for your column mapping in the next step.
Step 4: Map Your Columns
Column mapping is where PBLISH's intelligence shines. Each social platform uses different column names for the same data, for example, Facebook expects image_link while TikTok uses sku_link. PBLISH asks you to map your source columns to its universal fields once, and then handles the platform-specific naming automatically on every generation.
The mapping interface shows your source columns on the left and the PBLISH universal column on the right. The Required Items section at the bottom shows exactly which fields each platform needs.
Step 5: Create Your Catalog
With your feed configured, navigate to Catalogs and click Add Catalog +. A catalog ties together a feed, a target platform, a canvas size, and a design template.
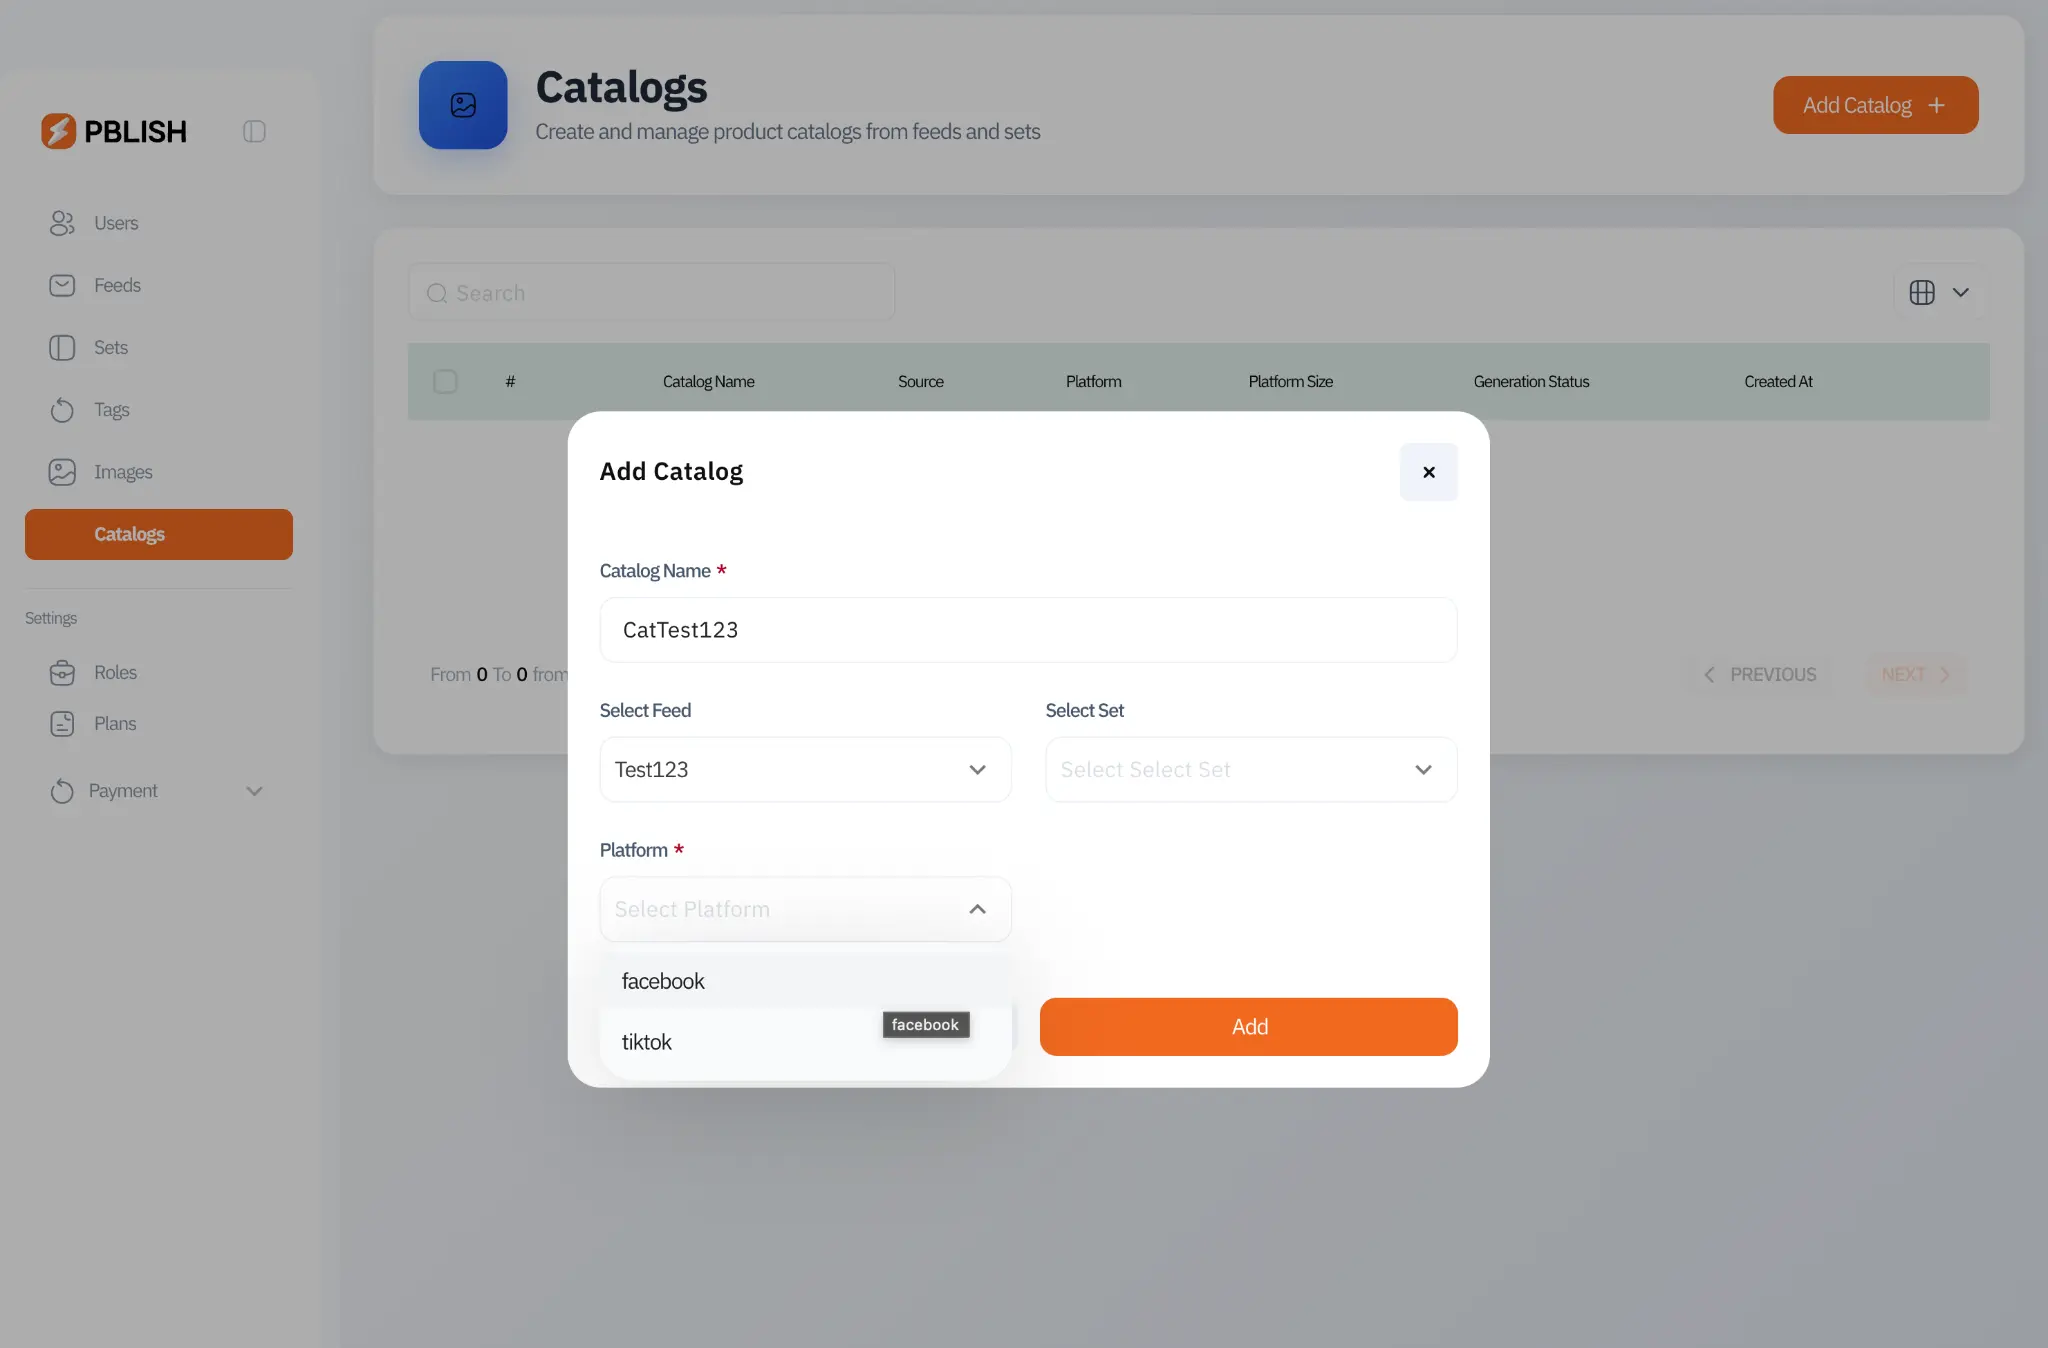
Configure the following fields:
- Catalog Name: A descriptive identifier (e.g., "Facebook Square, Summer 2025")
- Select Feed: Choose the feed you just created
- Select Set (optional): Filter to a specific product set instead of the entire feed
- Platform: The social network this catalog targets (Facebook, TikTok, etc.)
- Platform Size: Square (1080×1080), landscape (1200×630), or story (1080×1920)
Step 6: Design Your Template & Generate
After creating the catalog, the Catalog Setup Guide walks you through the remaining steps. Click Create Template to open the visual design editor where you can build your ad layout using dynamic variables from your feed (such as {{price}}, {{name}}, {{image}}, etc.).
Once the template is saved, PBLISH will automatically generate images for all products in your feed on the next scheduled cycle. Once complete, the catalog status changes to Completed and your public feed URL becomes available.
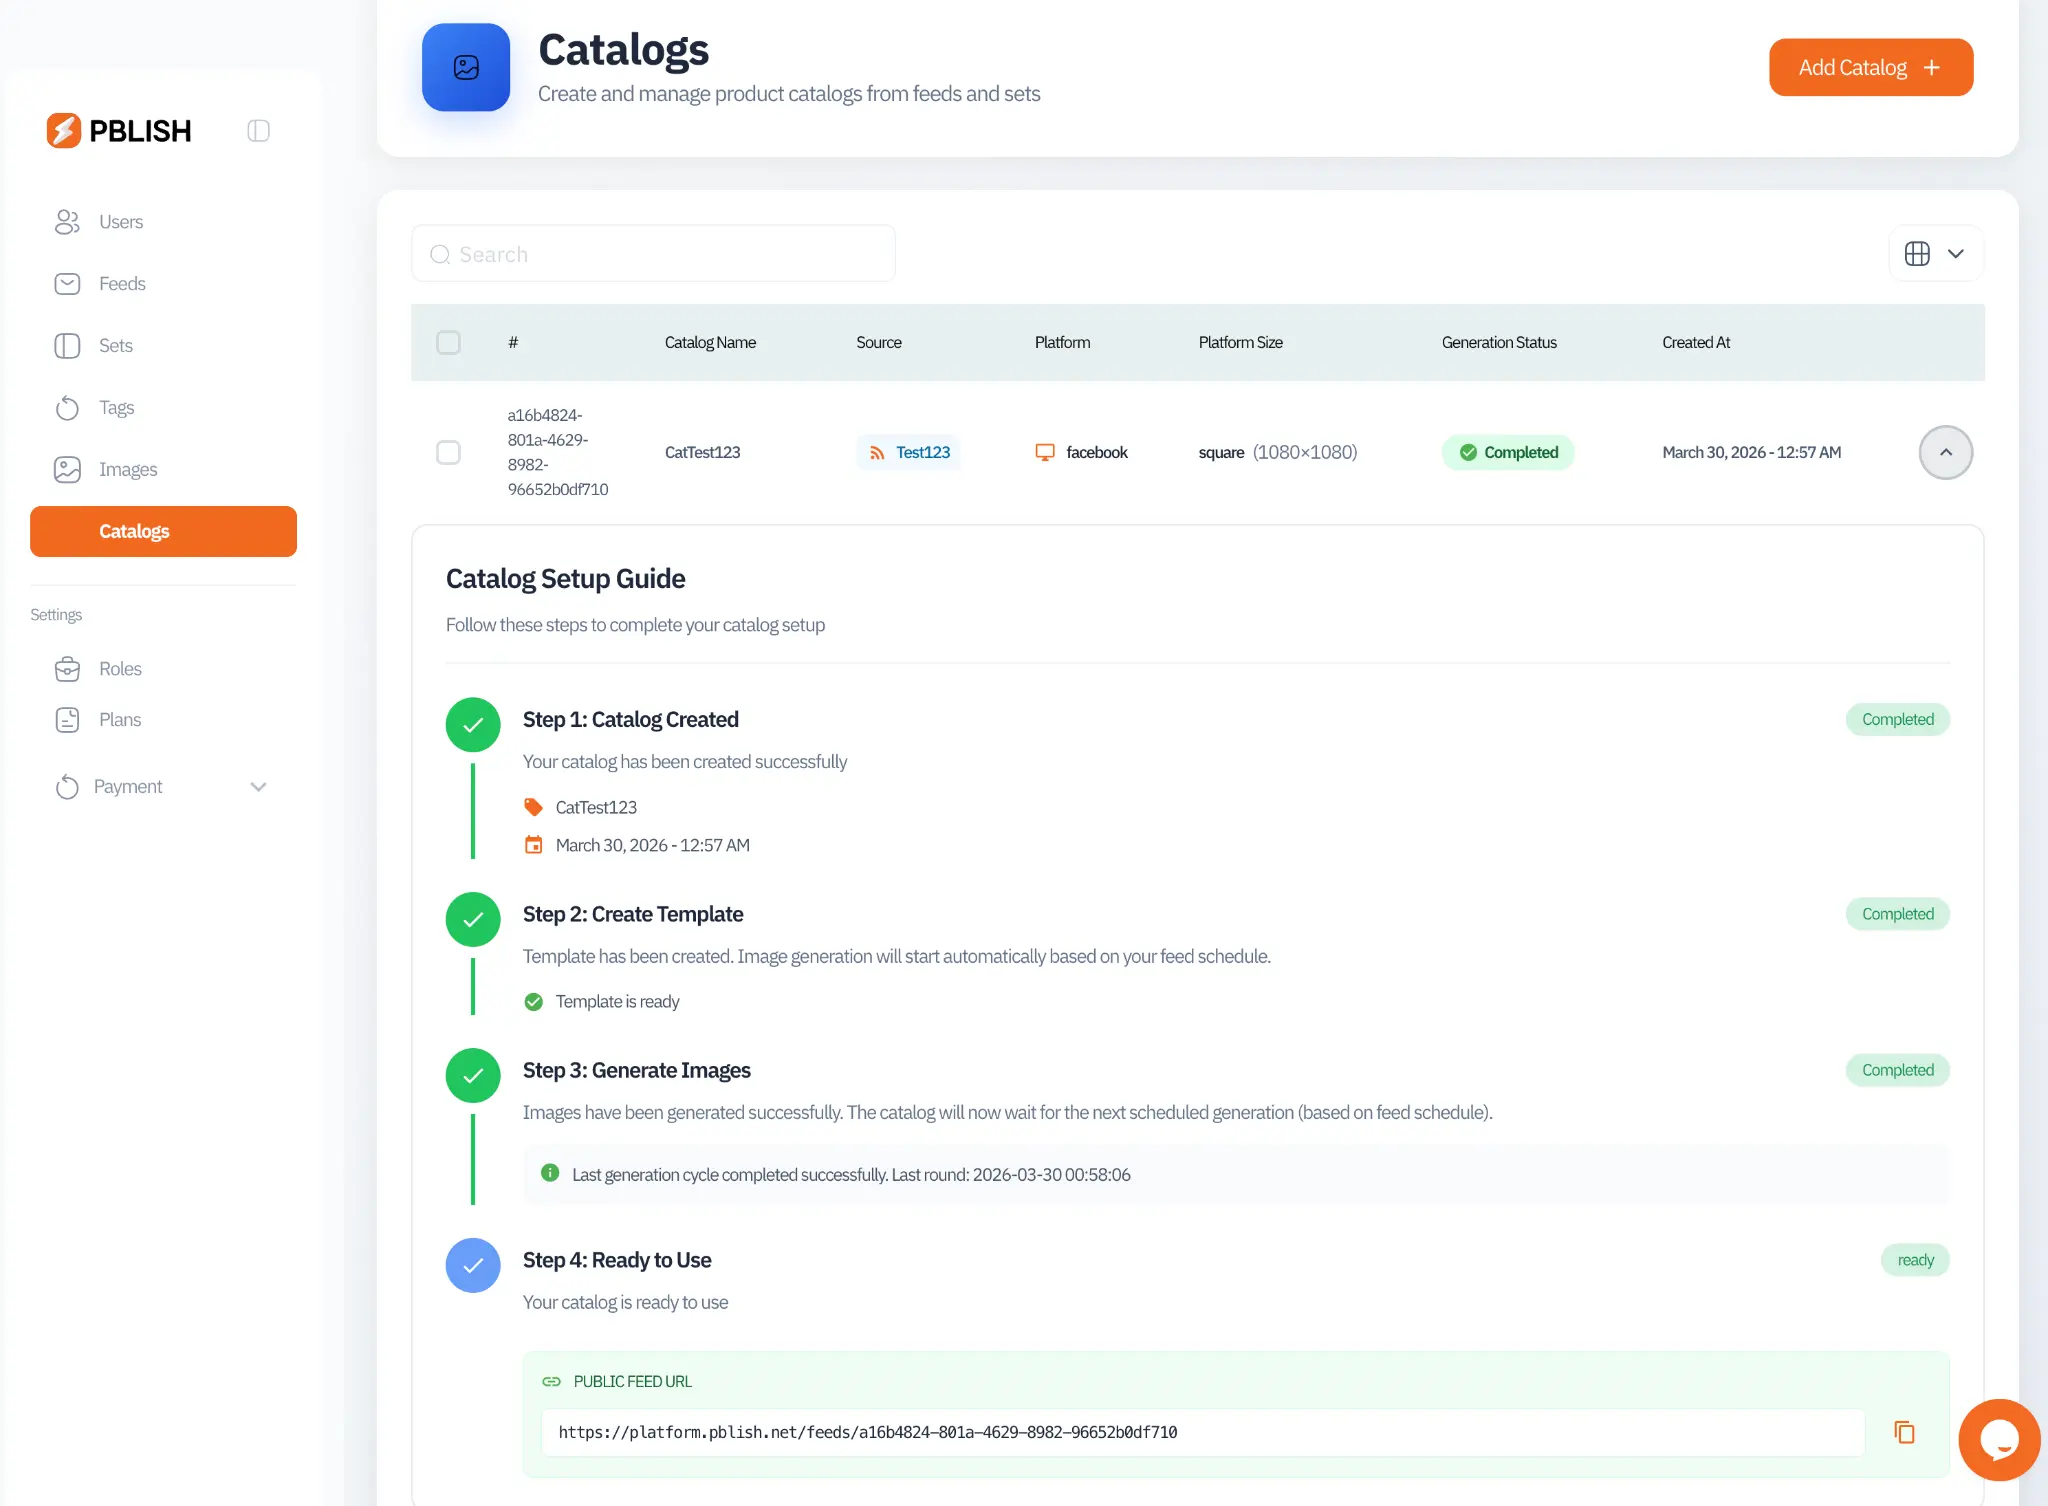
Step 7: Use Your Magic Link
The Public Feed URL shown in Step 4 of the Catalog Setup Guide is your magic link. Copy it and paste it into the catalog feed section of your chosen ad platform (e.g., Facebook Commerce Manager, TikTok Catalog Manager).
From this point forward, PBLISH handles everything automatically. On every scheduled generation cycle, the platform re-fetches the URL and receives an updated catalog that reflects changes to your product data (prices, stock, new or removed SKUs) with no manual work on your side.
What's Next?
Now that your first catalog is live, explore these topics to get more value from PBLISH: